2 weeks ago I started my home office renovation, and right in the middle of it, I spent the weekend decorating Jon’s new work office, and this was right after the whirlwind of converting our newly renovated garage (that used to be my home office) to a dorm room situation for our two adulting sons.
My goal was simple – to convert the boys’ former bedroom into a dreamy office where I could live and create and do all the things that dreams are made of (or just have a really cute place to pay my bills).
Like all my room renovations, I had a super small budget of $250, but this project also had a tight 2 week time frame because I needed my office up and running before school starts (I am still homeschooling my youngest, who is a senior this year! What?!).
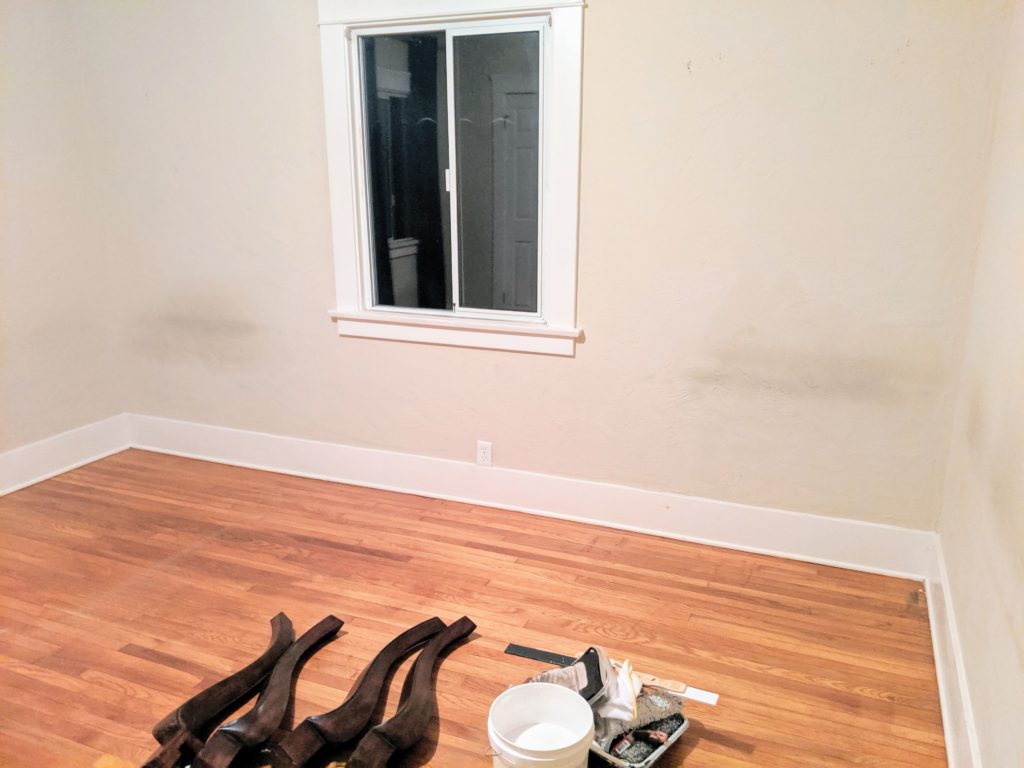
Just to give you an idea of what I was working with, my office is a 13′ x 12′ room, so it’s not ginormous, but not tiny either. The floors are gorgeous wood – original to our 1950’s home, and the only things I really felt like I needed to do in here was paint and get a couple key items.
To keep myself on budget, and on time, I simplified my needs/wants list. I didn’t want to spend a lot of money on my office, so I didn’t even consider buying anything new, (unless I happened to find a totally affordable new chandelier – is that even possible?). I did originally want to add a wall mural or molding to the walls, but honestly, I was too exhausted from just finishing the dorm renovation for my sons (more on that later), that I decided to keep this room renovation very simple and quick.
Here’s what the room looked like the day before the boys moved all of their stuff out of their bedroom:

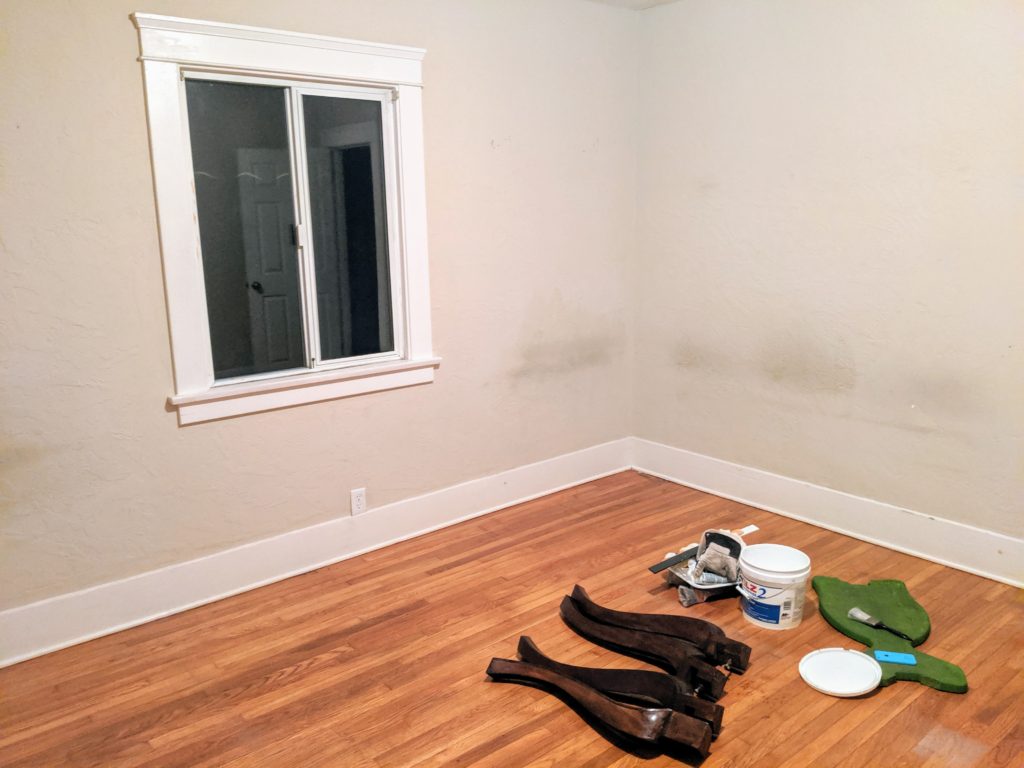
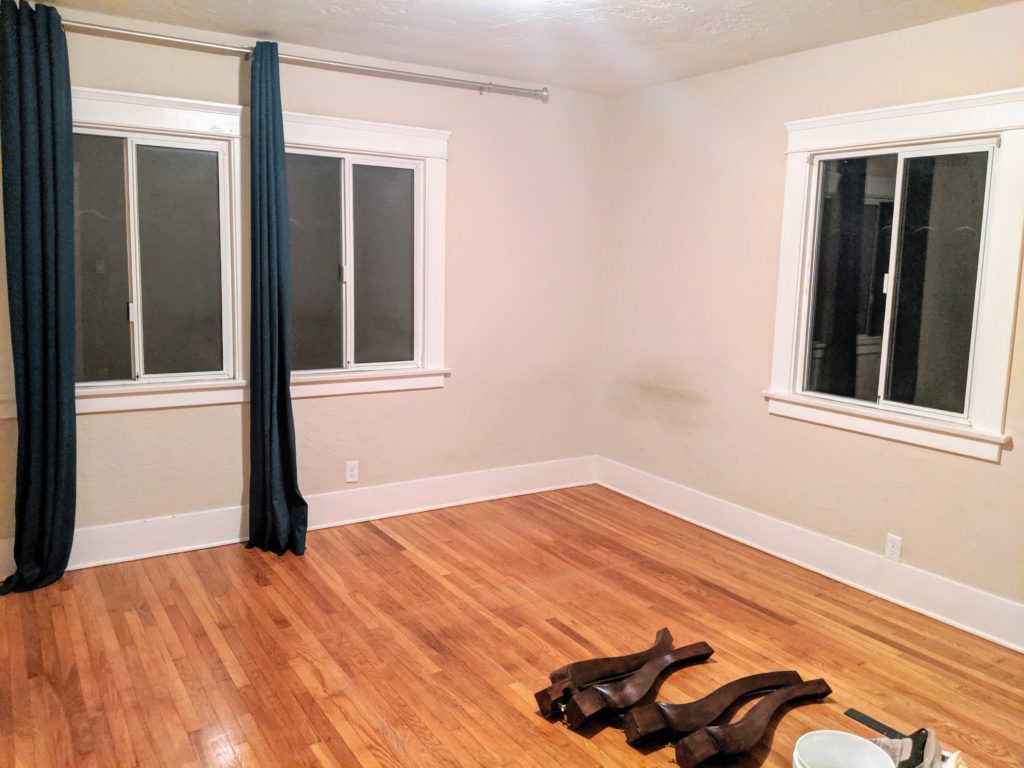
Here’s what it looked like 2 weeks ago:
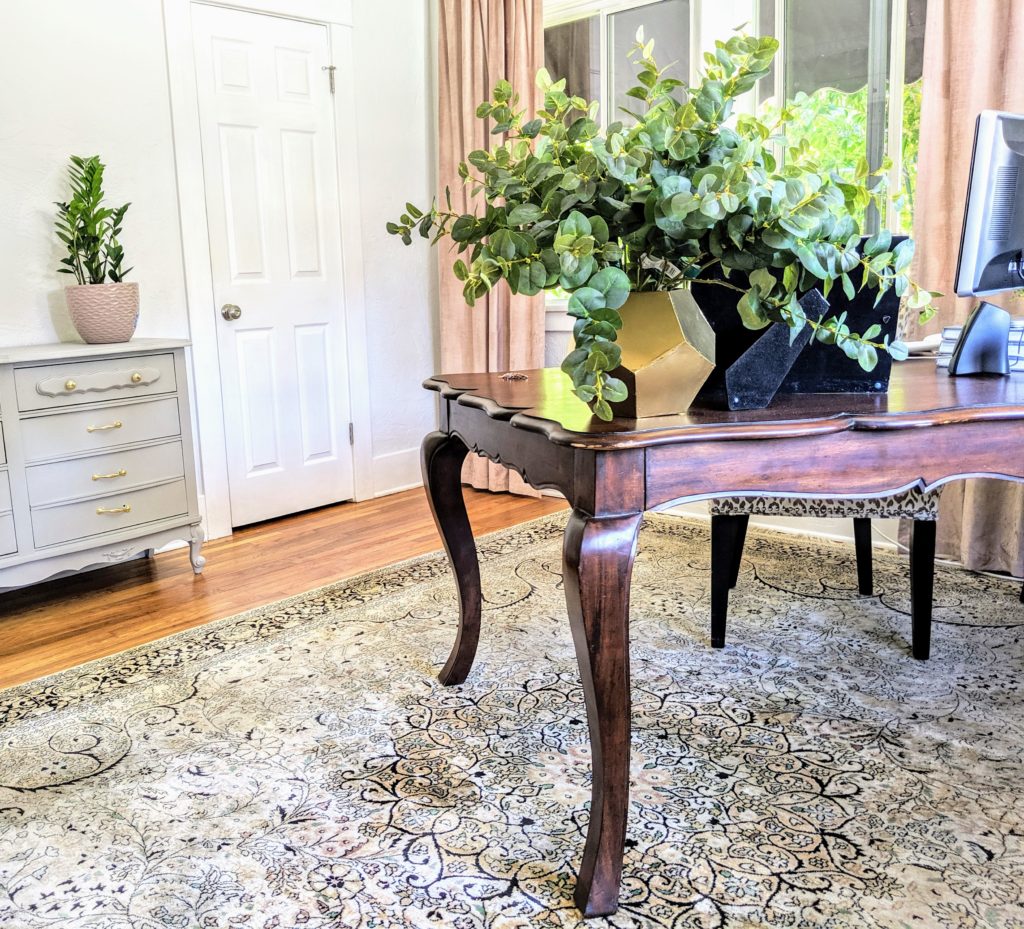
And here’s how it looks today:
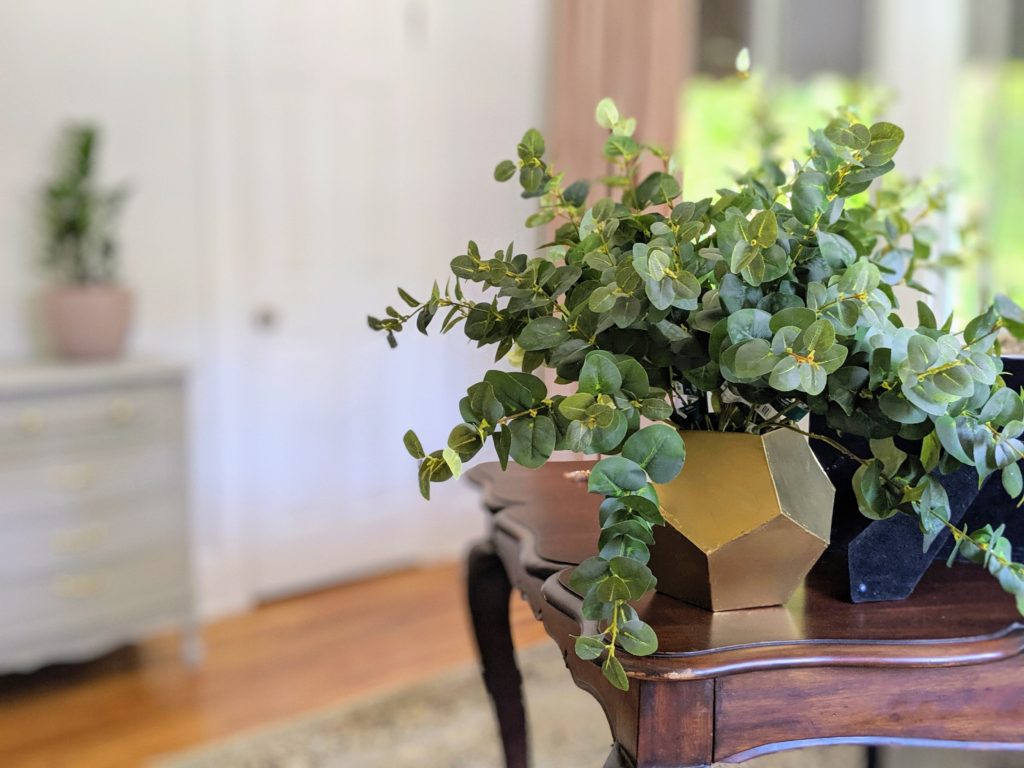
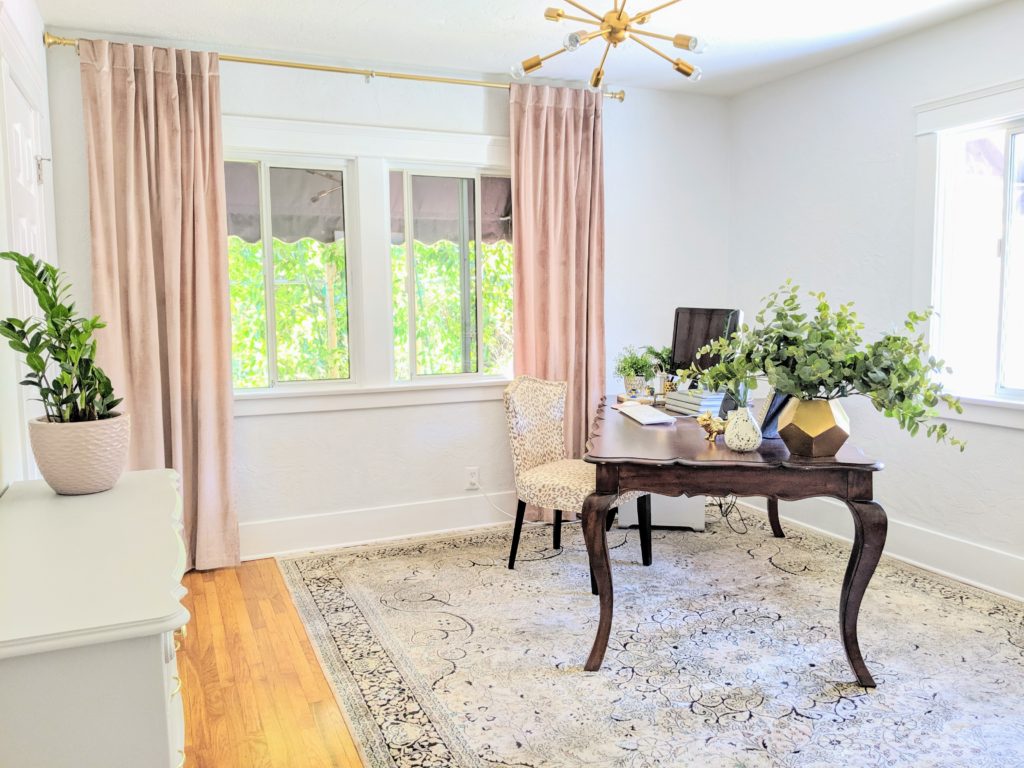
So many of you have followed along on Instagram during the dorm renovation, Jon’s quick office makeover, and with my office, and I have loved hearing from you guys! I will definitely try to share more behind the scenes #bts for future projects. If you missed any of these projects, I saved them in my story highlights so you can binge-watch all of them! Start with Dorm Room #1, #2, #3, then watch Jon’s office, and home office to get caught up.
But in case you missed it, here’s a glimpse of how my home office went from this:

To this:

Here’s a list of the 5 things I knew I wanted in my office:
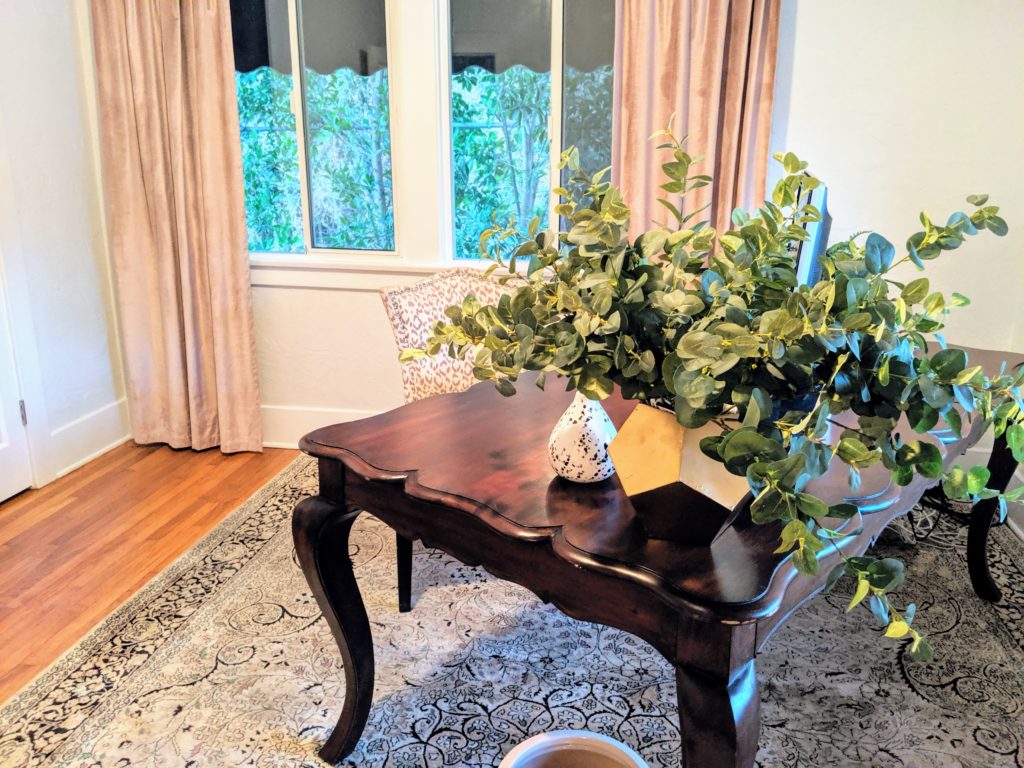
1. Desk: I knew I needed a new desk (before I moved my office into the garage, it was in a small pantry). My last desk was a free Craigslist find that I painted white. I loved it, and it totally worked for me for 6 years, but I wanted something bigger.

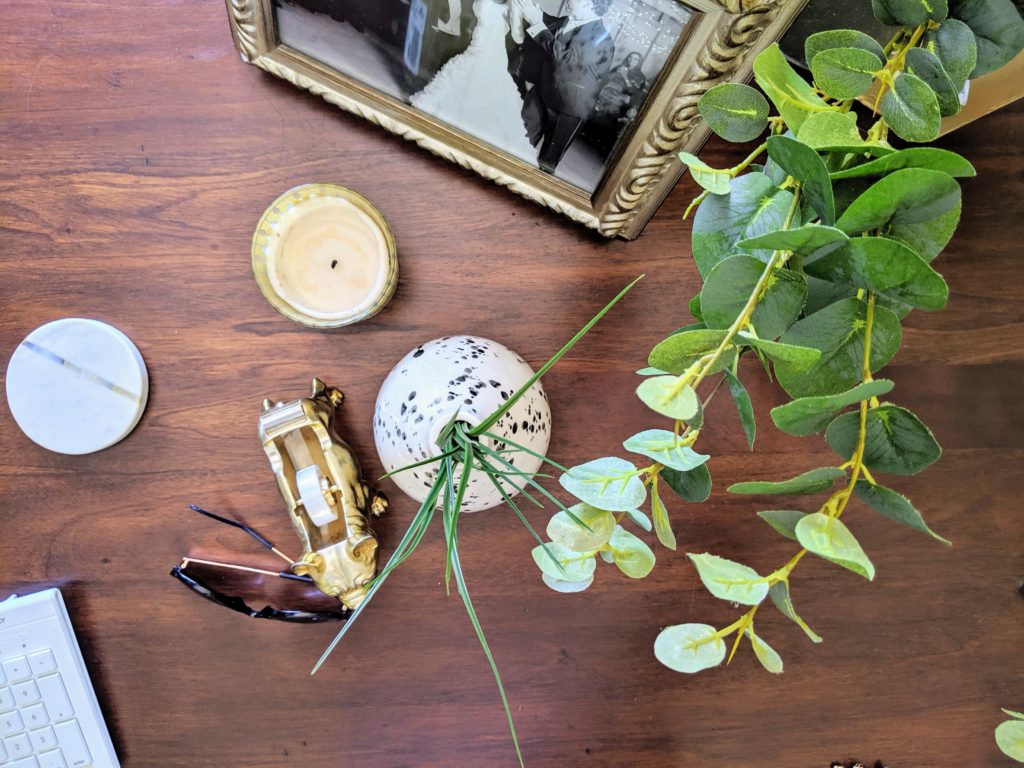
I love using dining tables as desks; they give me room to spread out and have working space (not just typing space). So that’s what I searched for when I found this beauty. I initially thought I was going to paint this a metallic or grey color, but for now, I am really liking the wood color.
2. Rug: I love rugs! They can anchor a space, tie a room together, and make the design feel complete. I already had a really nice office rug, but I swapped it for this one instead.
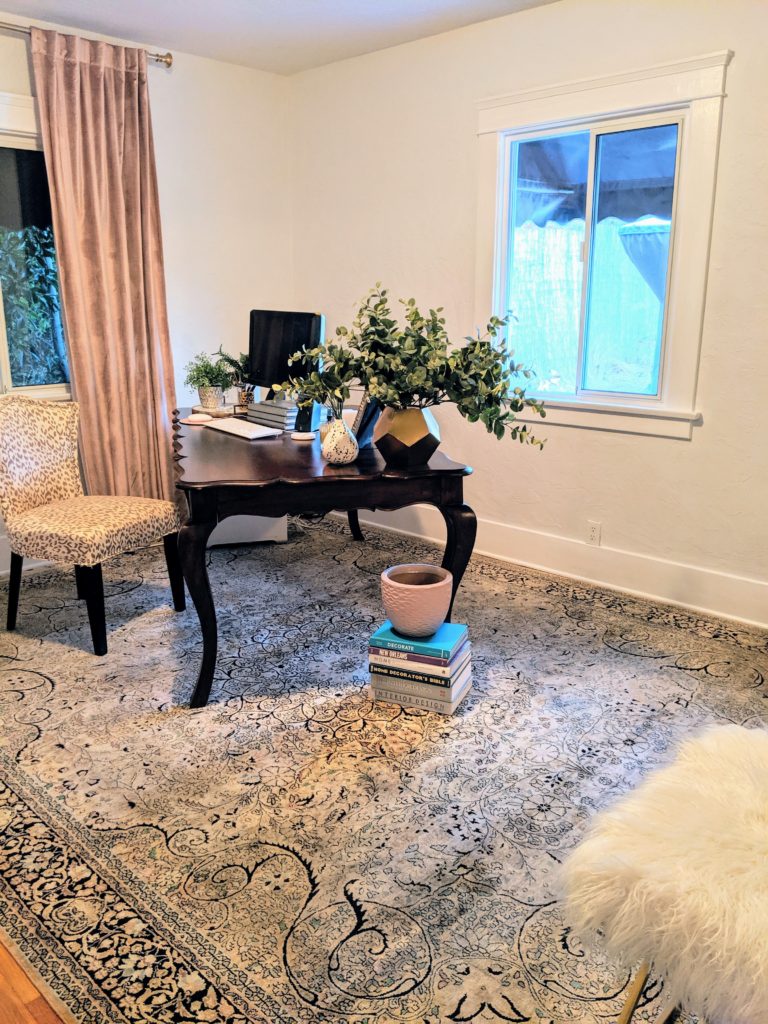
I initially bought this rug for the boys’ dorm room, but they thought it was too girly, so I decided it would be perfect for my office.
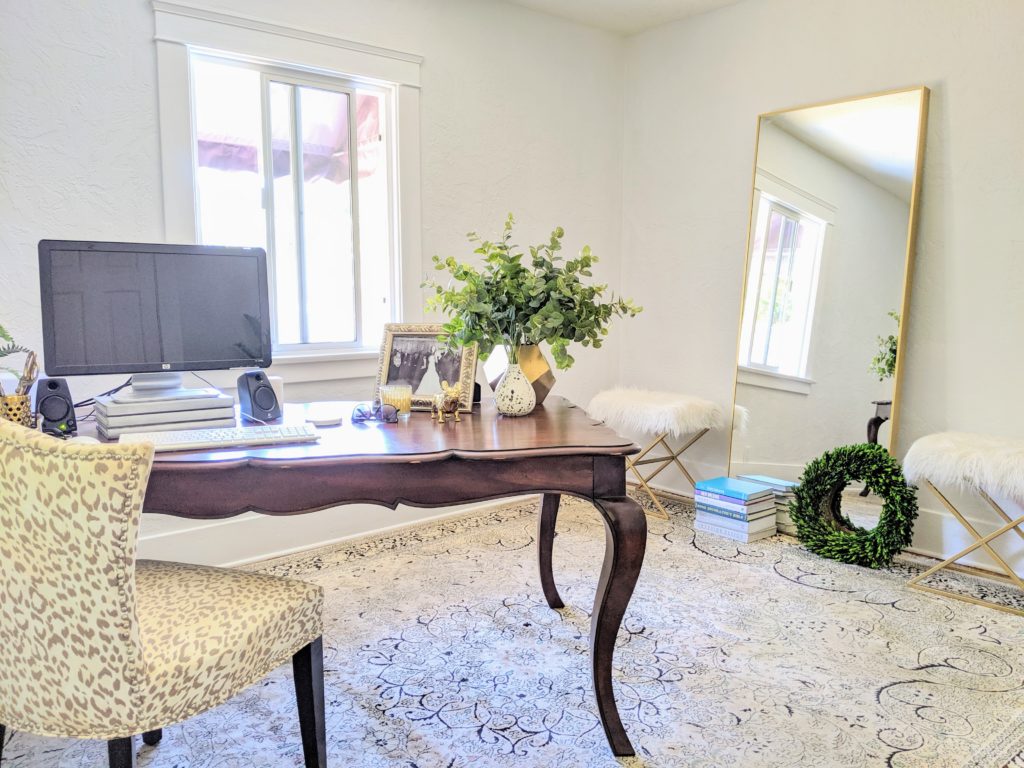
The rug size is 9′ x 12′ 5″. It’s a little on the big size, but like I said, I am making it work since I originally didn’t buy it for this space.
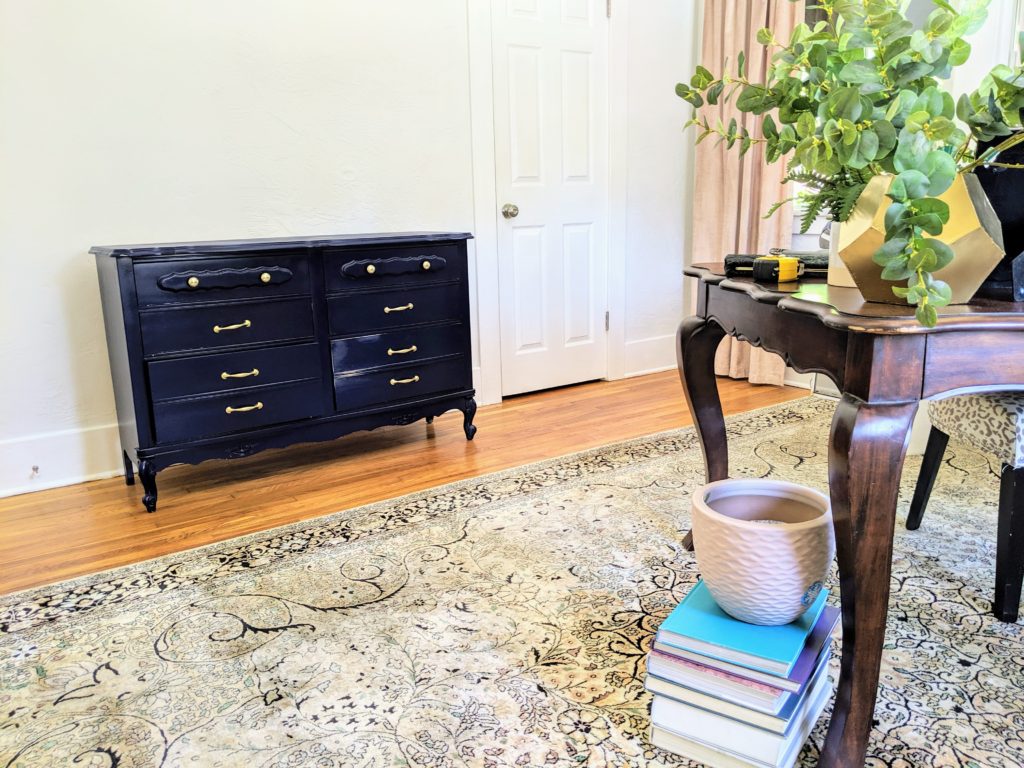
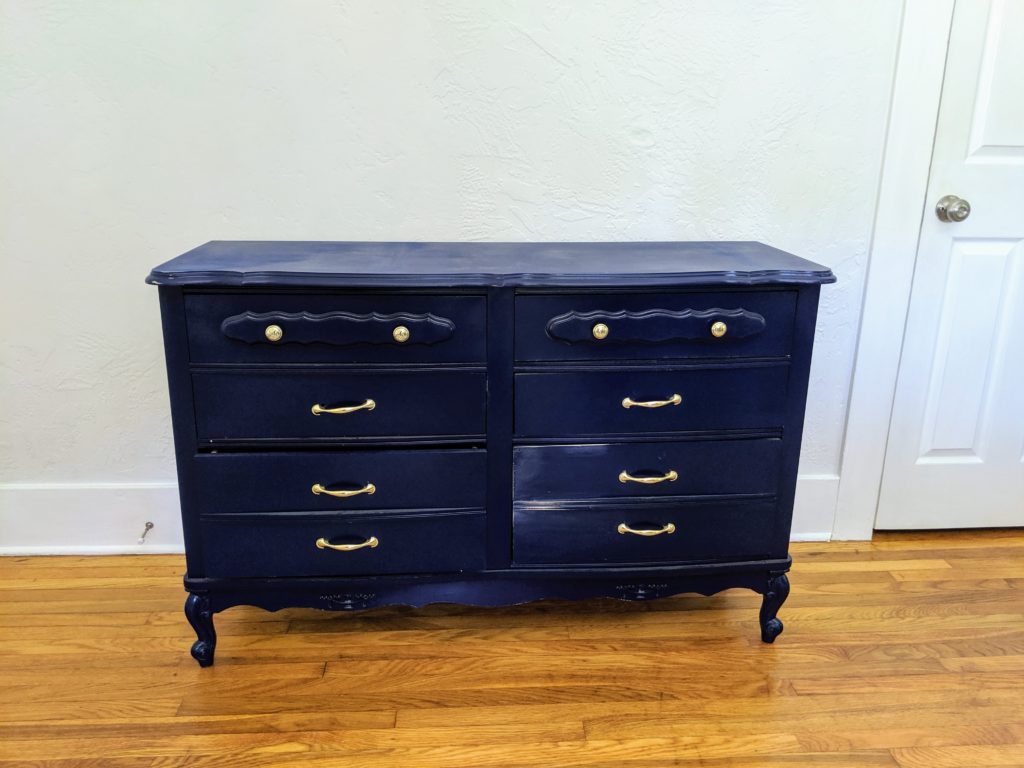
3. Storage: I either wanted a dresser or file cabinet to keep all my files and stuff organized. I had a dresser and an ikea file/storage unit that I was considering for my office, but I was also actively looking for a new one. I decided to pull this dresser out of the storage room and see how it it looked in my office.
This is what the dresser looked like before I painted it:
And closer up.
And here’s what it looks like now:

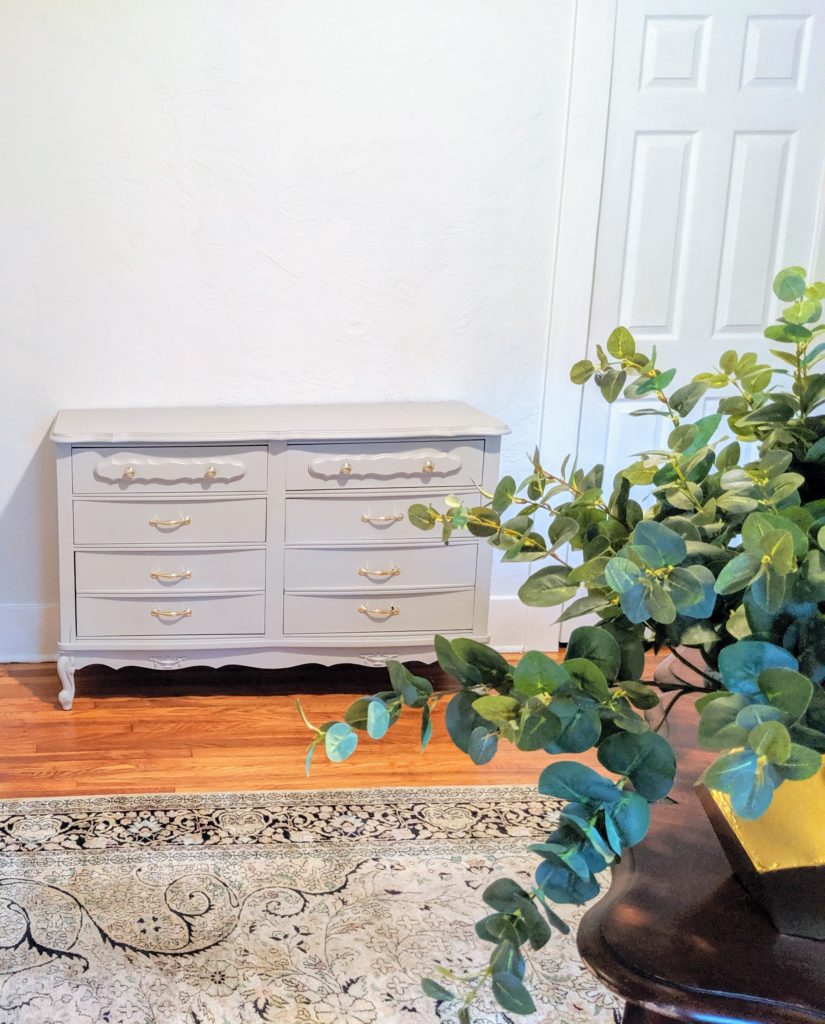
I had planned on selling it on Offer Up or Craigslist, but I am happy to report that I think it works great!
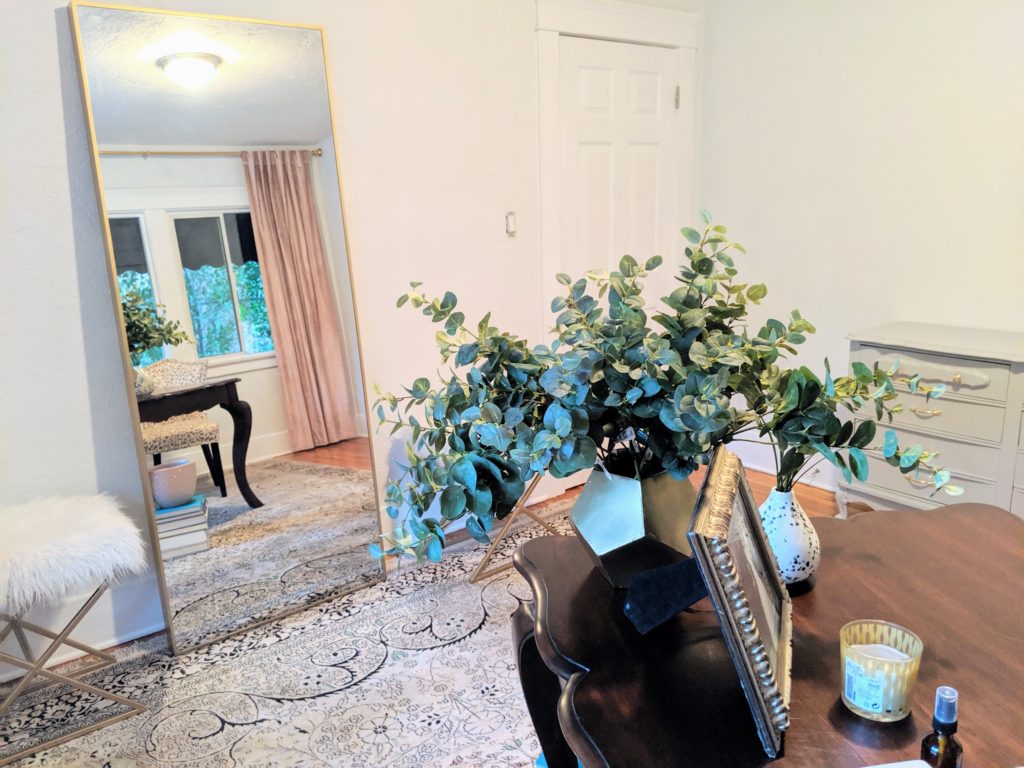
4. Mirror: I wanted a floor-length mirror to make my office space feel open, bright, and big.
Here is what the mirror looked like when I bought it, and this was also my initial desk placement when I was trying to figure out how to set up my room. I wanted to be able to see the pool while sitting at my desk.
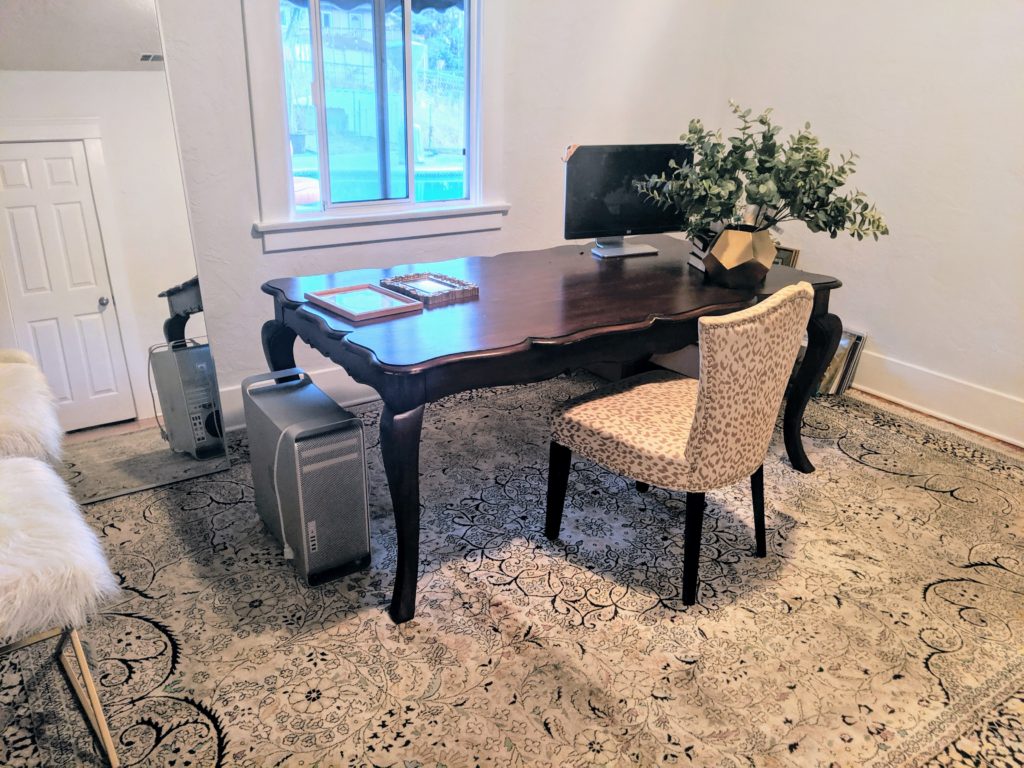
Compared to this:
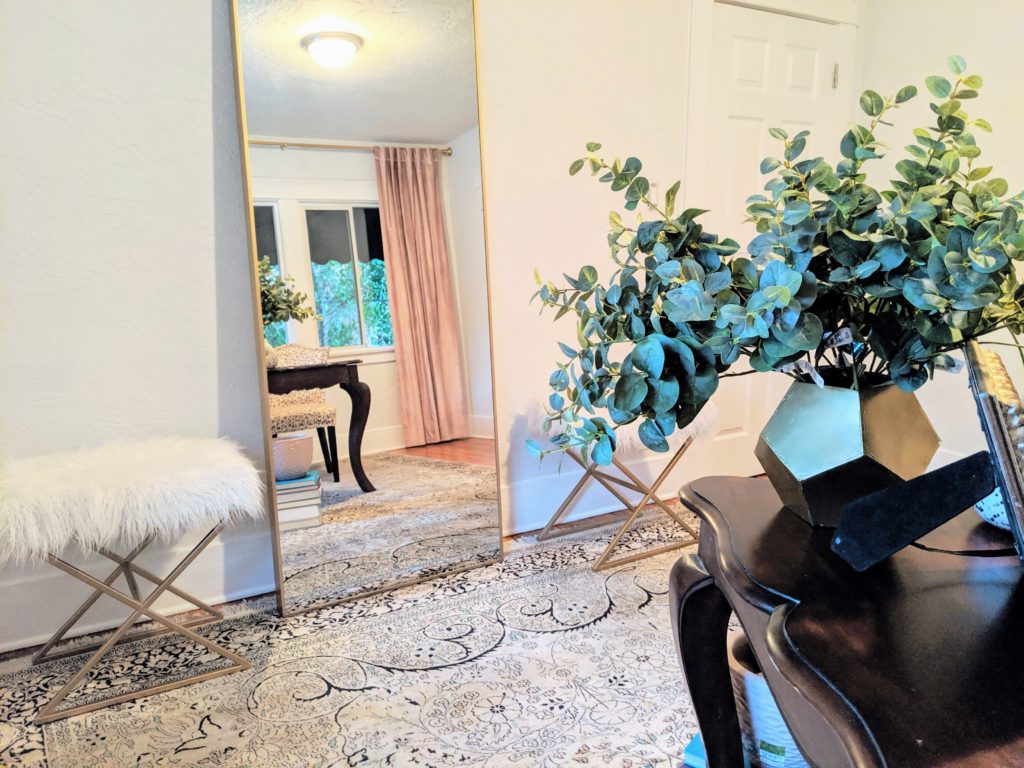
It may not seem like it’s not a huge change, but I wanted more gold in my office, so I spray painted it and added a clear coat. I really like how the mirror stands out from the wall more. I feel like the gold added some much needed depth and elegance here.
5. Chandelier: It wasn’t a need, but I knew it would make me LOVE the space that much more, so I figured that if I could find an inexpensive one, then I would just buy it. If I couldn’t find a cheap one, I was either going to just leave the current light fixture or maybe paint it gold. I was fine with waiting, but then I found this awesome chandelier, brand new, on Amazon, I knew I just needed to order it and see if it would work, and I am so glad I did!
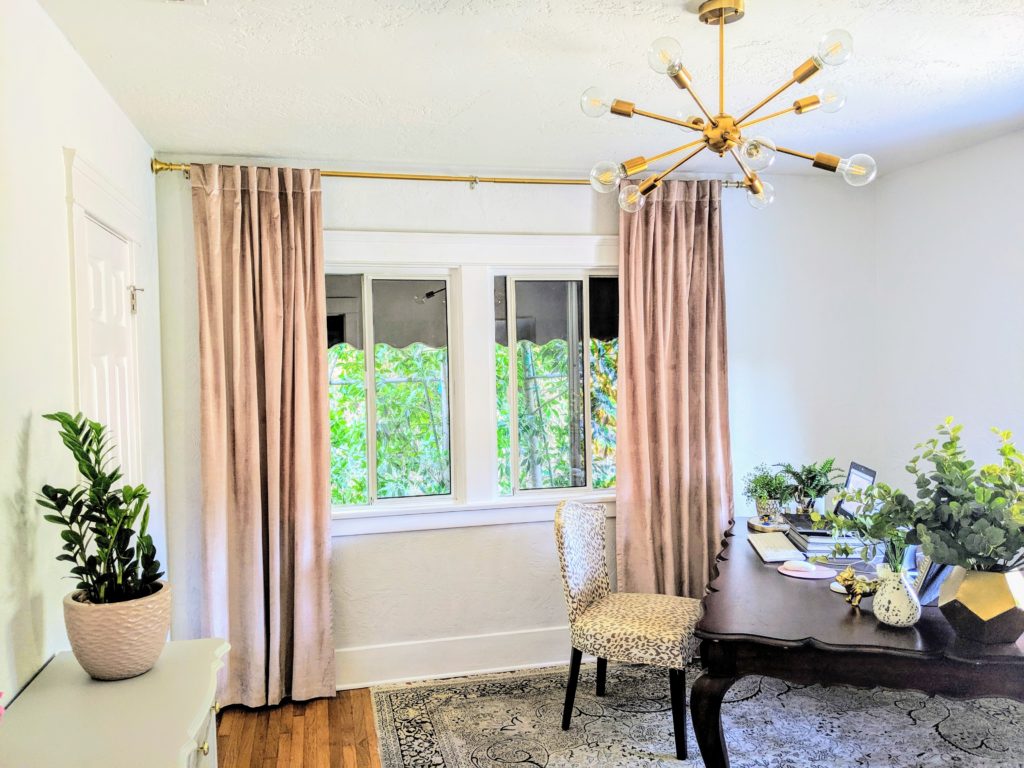
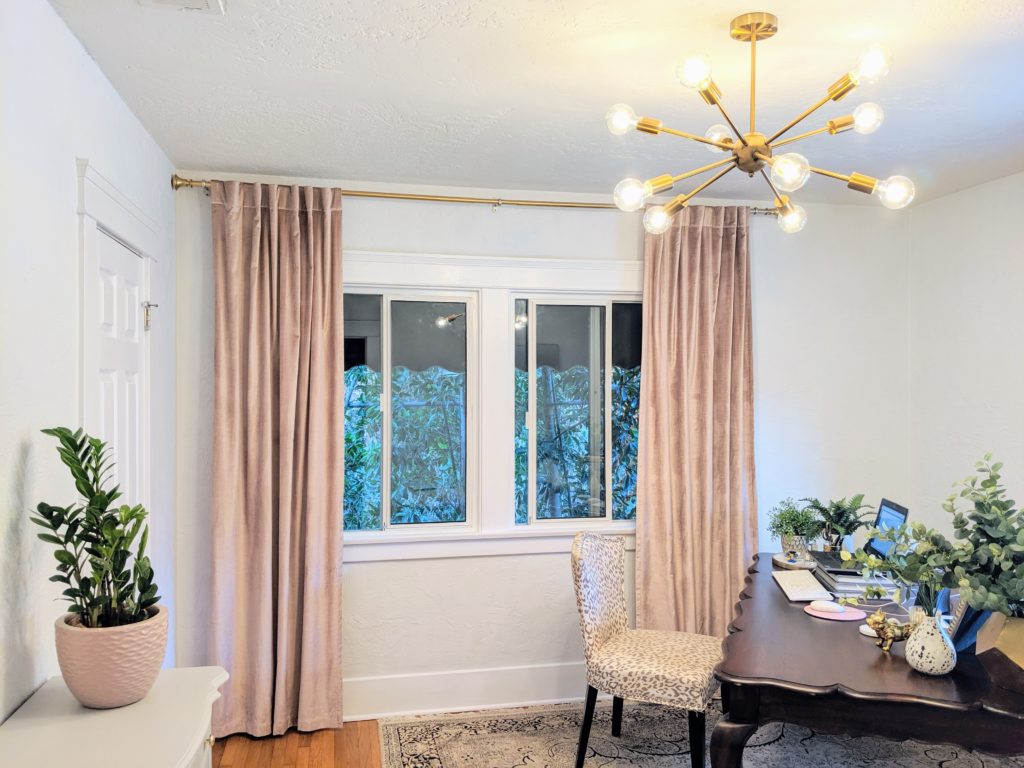
I need to install a dimmer switch ASAP, because this is the brightest light fixture I have ever seen, but I will share more about that and how to pick light bulbs in a future post.
There is so much you can do in a room in a short period of time, and so many ways to totally transform a room with a very tight budget. Seriously, you guys can totally do this stuff.
Please note, this is not how to transform your home office for $250, but this is how I was able to do it for less than $250. I used things I already had and searched, waited, (and yes, I even prayed about things I needed too). The most important thing is to create a space that you feel comfortable in, not your friends, not random strangers on Instagram, you. I encourage you to try doing the same thing – create a tiny budget and use things you already have to revamp your space!
desk – $60 (Offer Up)
chandelier – $60 (Amazon)
mirror – $50 (Offer Up)
light bulbs $52 (Amazon)
TOTAL: $222
In my next home office makeover post, I will feature items similar to what I have in my home office so you can snag them too!
Thank you again for all of your support and encouragement as I slowly start designing again. I loved all your comments as I did the dorm room and I can’t wait to share more of my designs with you. Stay tuned for all the behind the scene DIY’s for my office!

