You should have heard my conversation(s) with my husband when I originally wanted to build a wall out of recycled concrete; let’s just say that he was having a hard time seeing how beautiful it would turn out.
What is the Stone Called?
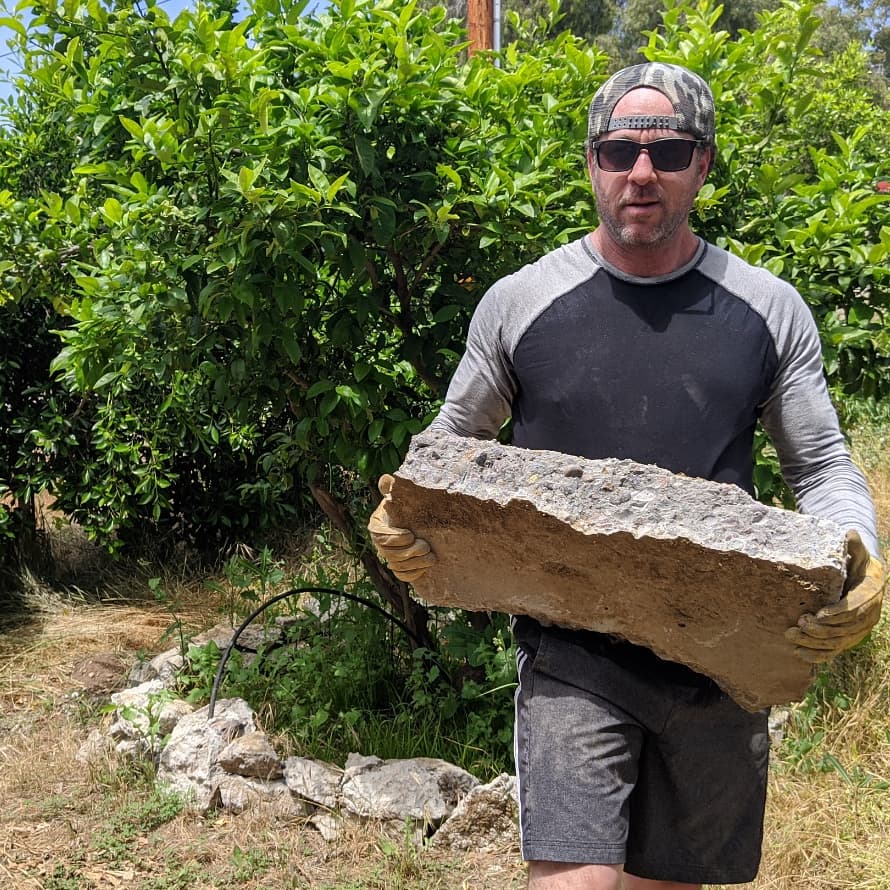
The fancy word for this type of “stone” is called “urbanite”, basically, it’s what you get when someone decides to tear up a sidewalk or driveway.
You might be wondering why I would even think to use this type of stone, well, I love the old-world look of the rocky exterior French homes & walls, and I thought this material could help me get the French-inspired look I was going for. Spoiler alert, I was right.
Our Backyard Beautification Progress
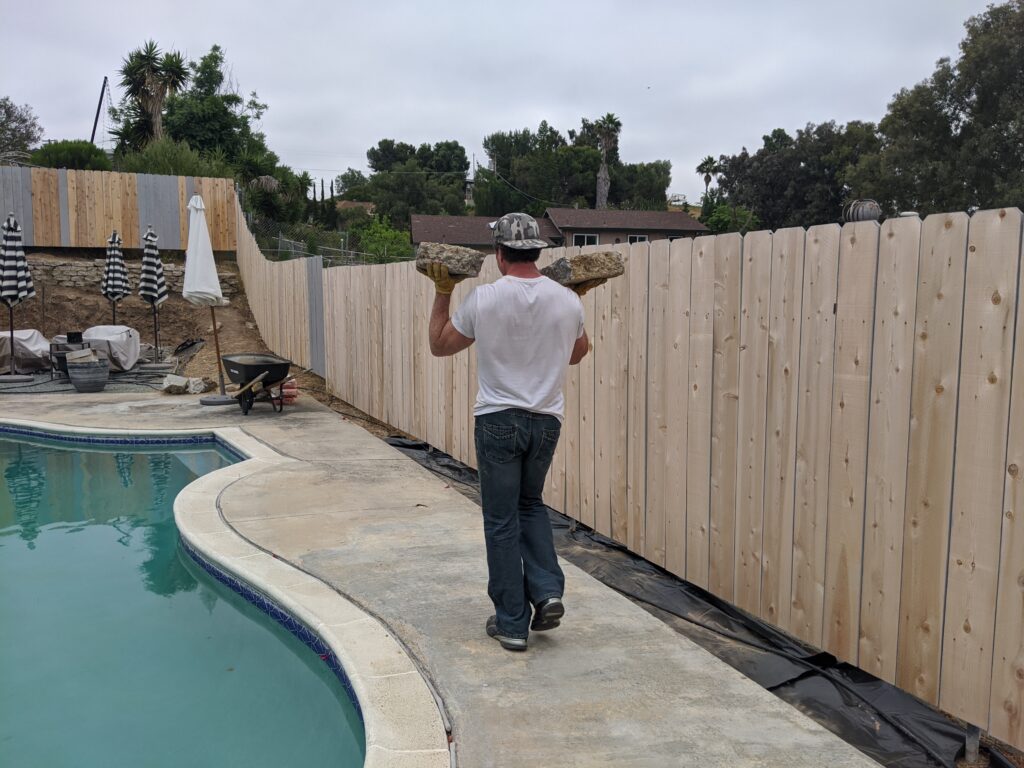
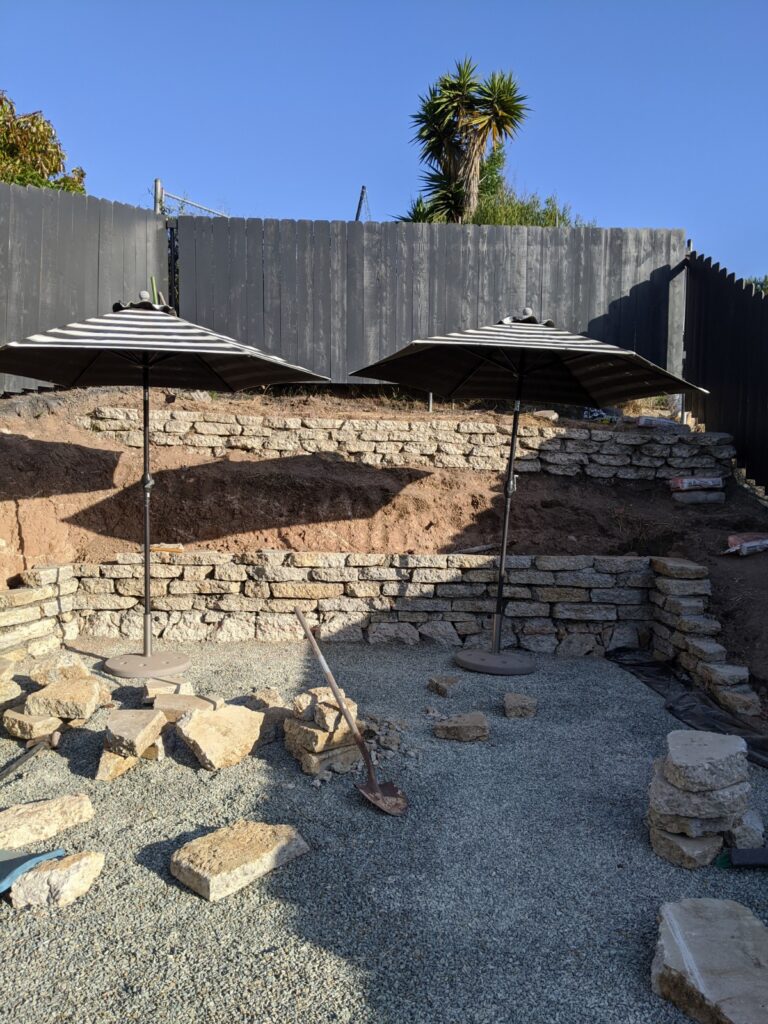
Our major backyard beautification started a couple months ago when we removed the chain link fence, installed, primed & painted a cedar fence, then we started building a wall…
We leveled the ground, started placing stones, and together as a family, we started building this amazing wall. Jon (my hubby), Everen, and Christian (our two sons 18 & 21) were in charge of carrying all of these heavy stones from our front yard to our backyard, and I was in charge of layering the cement and making sure the stones were level.
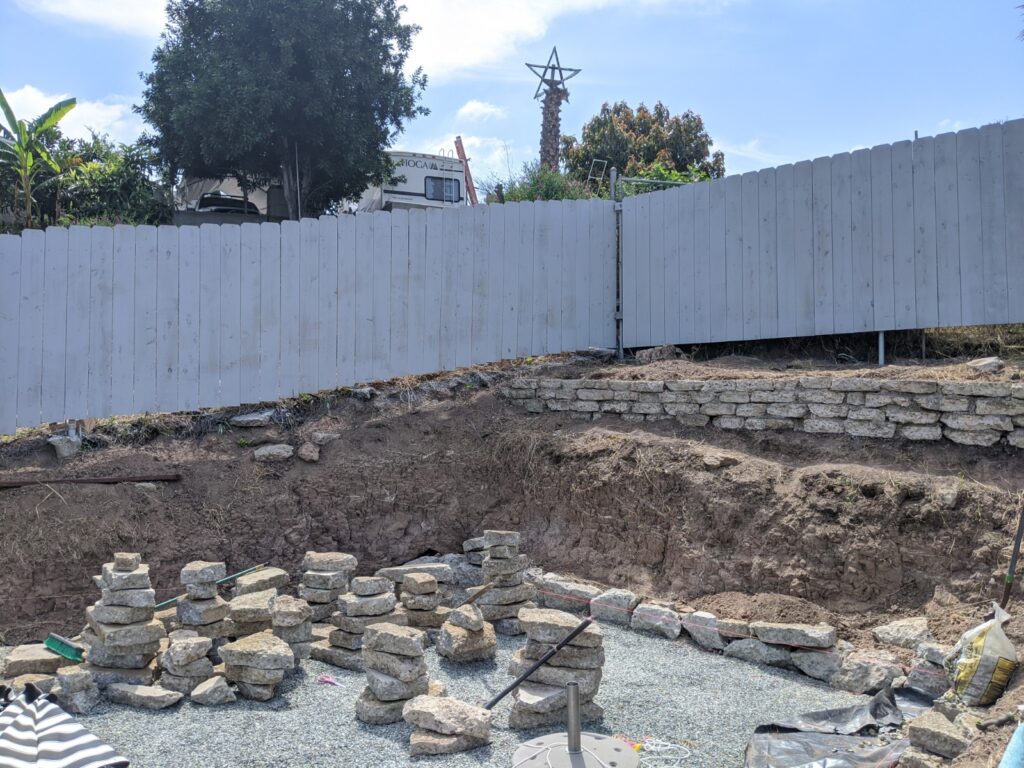
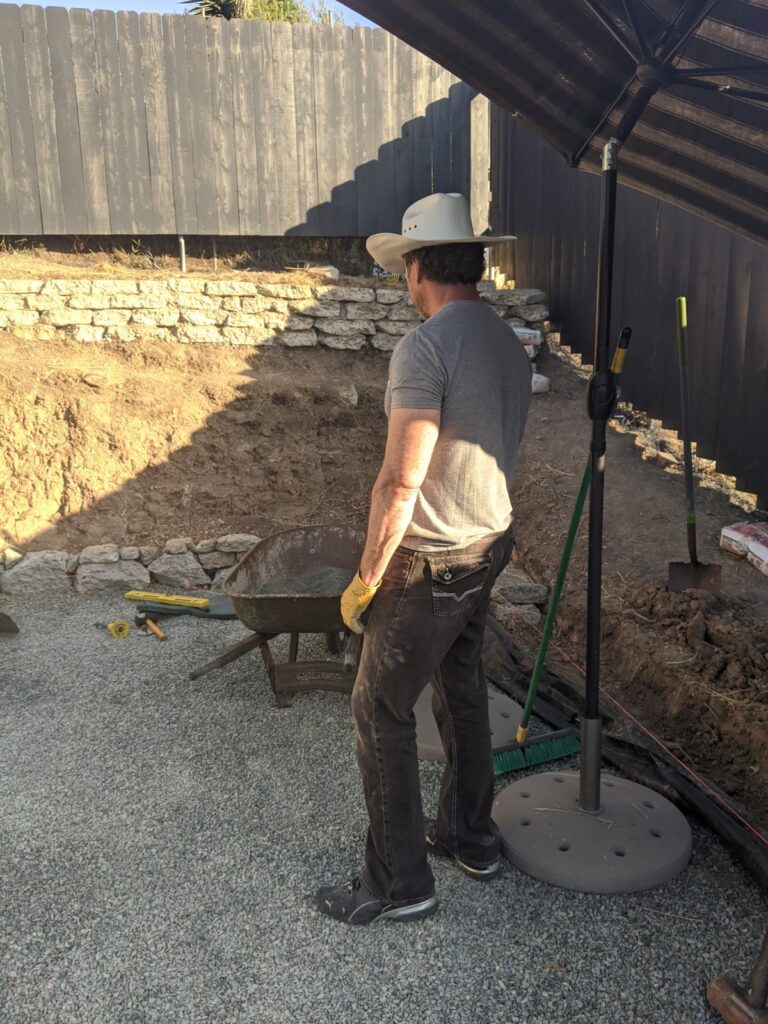
As you see in the photo above, I had previously built a stone wall to contain the dirt on the upper level. Jon tore that down and sloped the ground a bit because we needed the stones to complete our wall on the lower level.
The wall itself is about 60 feet long, and it took us two weeks to complete. Next up, I will do the pointing, (aka: fill in the joints with colored cement to secure and finish the look). .
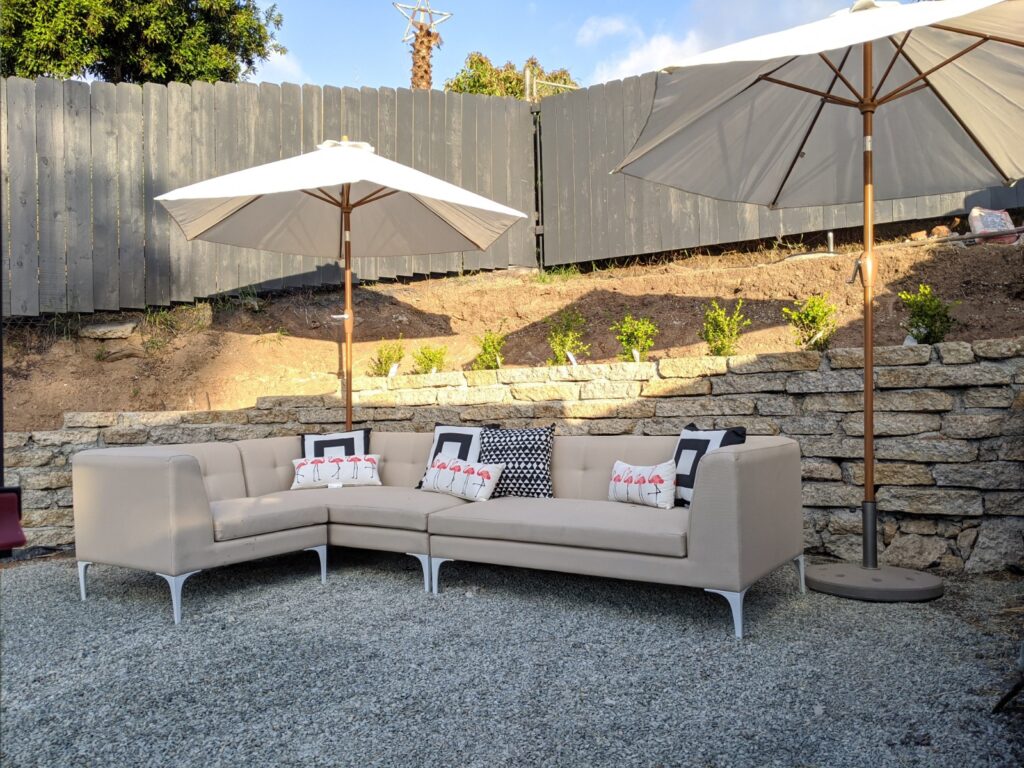
I am happy to report that my husband LOVES how the wall turned out; I LOVE it when he likes my crazy ideas.
Want to try this project, below is a list of all the tools & supplies I used.
Materials Needed To Build an Urbanite Wall:
- Rebar – Use this to steak the outline of the inside edge of your wall
- String – Wrap around the rebar to ensure that each stone is lined up correctly
- Level – This is key! Make sure each stone is level with the ones next to it, and level front to back as well. I used a 2′ level and it worked great, but a 4′ level might be better.
- String Level – This tiny device allows you to ensure that your entire line is straight
- Concrete – Use this type of concrete because most of your gaps between the stones will be 2-3″ thick. For thinner joints, use this concrete.
- Trowel – You can use a masonry trowel or a simple garden tool to scoop & smooth the concrete onto the stones.
- Recycled Concrete pieces – We found ours on Craigslist & OfferUp for people who were trying to get rid of concrete. Look for loads that have big, flat, stones that are pulled from the same job. You don’t want a mixed load of dyed cement or tiny scrap pieces.
- Shovel & Wheelbarrow – Use this to store & stir the mixed the concrete with ease.
- Concrete mixer – We found ours for $60 on Craigslist, search for it used or rent it from Home Depot. Or, you can just mix it yourself in your wheelbarrow. The concrete mixer is easier, FYI.
- Rubber Mallet – This is key to get the stones level.
- Hammer – Use it to knock off any weird pieces that are jetting out.
We did this project to get a desired look and to save money. You definitely don’t need to spend tons of money to do this project. If you want to save money, mix small batches of concrete in a 5 gallon bucket with a stick or shovel. If you want to save time, find a cheap mixer to buy.
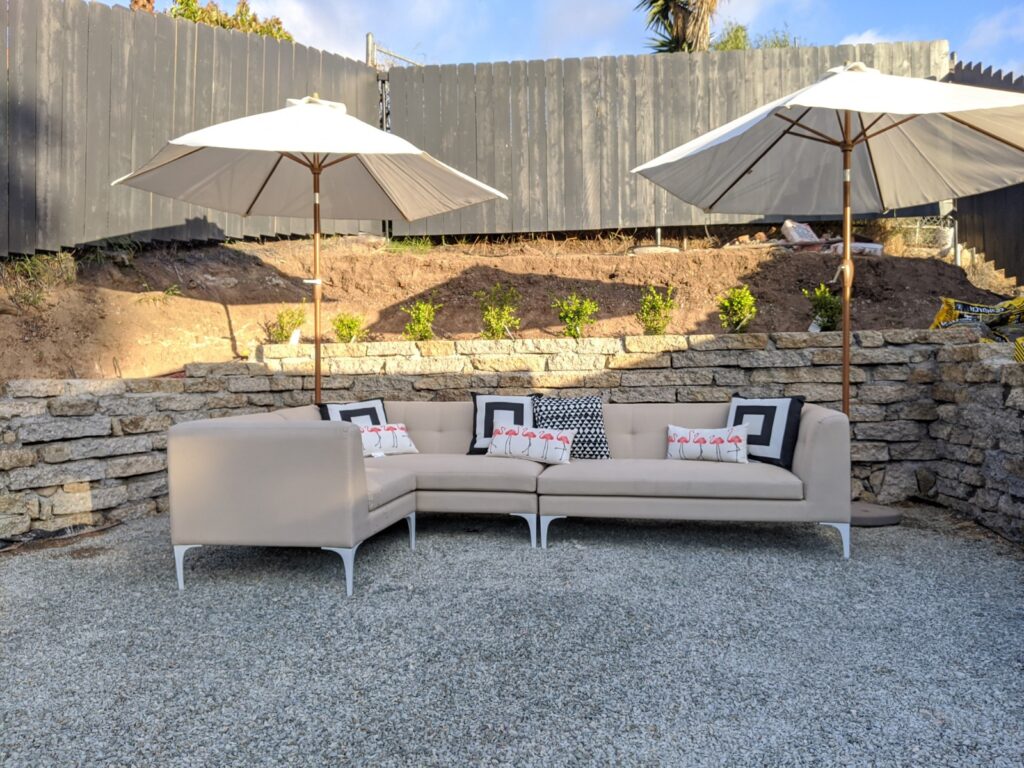
This DIY project is forgiving in the sense that the rocks are not perfect and the imperfections make it look awesome, but you definitely want to get things as level as possible. If you look closely at our wall, you will see areas that weren’t 100% level, but I made up for it on the next level, so it all worked out.
Tell me, what’s the craziest DIY idea you have had and how did your hubby respond?